

14-Day Money-Back Guarantee
0
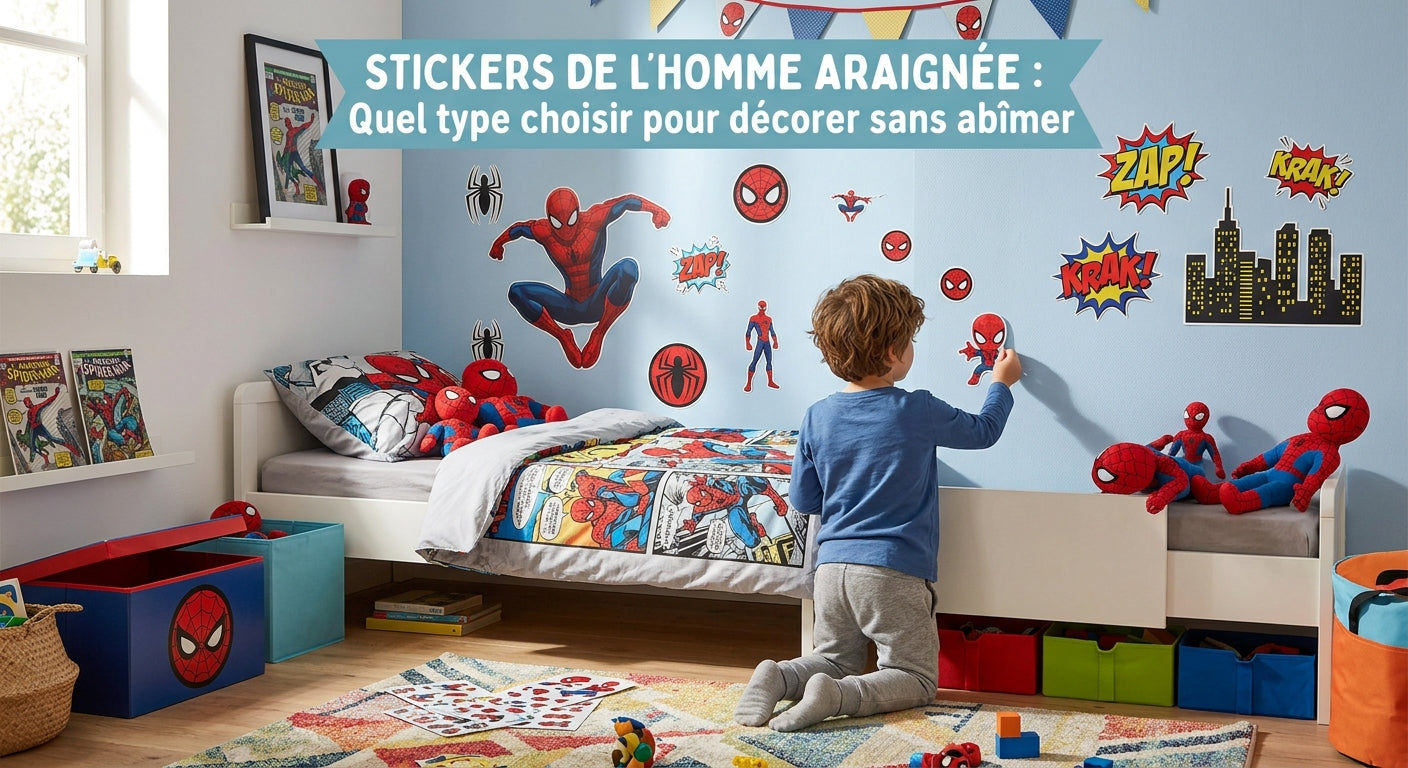
The essentials before you choose
It all comes down to the surface, not the sticker. Satin or gloss paint in good condition takes application and removal without damage. Matt paint, a freshly repainted wall or fragile wallpaper risk tearing. Apply to a clean, dry surface, and peel off slowly, pulling flat along the wall, never straight out from it.
It's the question that comes up before every purchase, and it's a fair one: will it damage the wall? The answer depends far less on the sticker than on what you stick it to. The same model peels cleanly off satin paint and takes a lump of plaster with it off cheap matt paint. Better to know before you order than on moving day.
This guide covers the three families available, how to recognise a compatible surface, the application method that avoids bubbles, and removal without a trace. Enough to transform a bedroom in one evening, and put it back as it was in twenty minutes.
Three families, three very different uses
The same word covers objects that share neither size, nor application method, nor lifespan. Confusing them is the number one cause of disappointment.
The repositionable wall sticker
This is the most common and the most forgiving format. Supplied on a sheet, it peels off its paper backing and goes up element by element. Its appeal lies in that word repositionable: for the first few minutes, you can lift it and correct it again without losing its tack. That's what lets a child join in without any risk of ruining everything.
The trade-off: this type of adhesive loses its hold after several repositionings. Two or three corrections are fine; beyond that the element ends up peeling off on its own a few weeks later, usually starting at the corners.
Large formats and trompe-l'œil
The XXL format changes the nature of the object. You're no longer decorating a corner of a wall, you're transforming a room. These models cover a large area in one piece, and some play on perspective — a silhouette that seems to step out of the wall, a web spilling onto the ceiling. The effect is spectacular and it stands, on its own, as the main decoration.
Two precautions. First, put it up with two people: a large format applied alone folds onto itself and sticks to itself before it reaches the wall, and that mistake is irreversible. Second, measure before you order: a stretch of wall free of sockets and furniture is essential. It's the same reasoning as for laying out a poster wall, except that here you don't get a second chance.
Small formats and the height chart
The third family covers small elements: logos, silhouettes, individual characters spread across a door, a bed frame, a toy box. They work as a complement rather than as the main decoration, and they have the advantage of going on surfaces where a large format never could.
The wall height chart deserves a mention of its own. It's the only sticker with a function beyond its look: you mark your child's height on it year after year. It usually outlives the decorative phase, because it carries memories that nothing else in the bedroom does.
STICKERS & DECOR

Spider-Man Height Chart Wall Stickers
The wall height chart: the one format that gets kept once the bedroom is redecorated, because it carries the measurements of the years before.
34.90 €
Discover →The surface decides everything
Here's the heart of the matter. The question 'will it damage the wall' has no general answer, it has one answer per type of wall. Here's how to identify yours in thirty seconds.
Surfaces that take it without any trouble
Satin, gloss or lacquered paint gives a smooth, slightly non-porous surface: the adhesive grips well and comes away cleanly. That's the best case. The same goes for a painted door, a ceramic tile, a window pane, a laminate unit or a metal wardrobe. On these surfaces, application and removal need no particular care.
The home test is simple: run a damp finger over the wall. If the water beads and nothing comes away on your finger, the surface is compatible. If your finger comes back slightly powdery or the colour runs, move on to the next section.
Surfaces that carry a risk
Matt paint is the most common case and the most problematic. Its microporous surface lets the adhesive anchor into the paint film, and removal takes a layer with it. The risk increases with budget paints and on walls repainted less than a month ago, the paint not having finished curing.
The same caution applies to wallpaper — especially non-woven or textured — to render, to bare concrete and to untreated wood. On these surfaces you have two options: give up, or move the decoration onto an object rather than the wall. A wall tapestry hangs without sticking to anything, and a framed poster sits on a piece of furniture. Our simple, affordable decorating ideas list the alternatives that leave the paint alone.
If you're renting
If you rent, the question isn't aesthetic but contractual. The check-out inventory compares the wall to how it was when you moved in, and stripped paint comes out of your deposit. The cautious rule: test one small element first, low down in a corner, leave it a week, then take it off and look. That test costs a single element and saves a nasty surprise across a whole composition.
Applying without bubbles: the method that works
Bubbles almost never come from the product, they come from the technique. Three principles are enough to avoid them.
The first: clean and dry. A slightly damp cloth, then a dry cloth, and above all a genuine wait before you apply. A wall that feels dry to the touch can hold enough moisture to stop the adhesive taking. Dust, for its part, produces micro-bubbles every time.
The second: apply gradually. Peel the paper backing off a few centimetres at a time, press that portion down, then work along, smoothing as you go from the centre out to the edges. Peeling it off completely before applying guarantees a crease. The third: smooth with a stiff card rather than your hand, in strokes that always start from the centre to push the air outwards.
Fixing a bubble that has already formed
A small bubble can be pierced with the point of a needle, then chased out by smoothing towards the hole. A large bubble means lifting the section concerned and laying it down again. In both cases, act within hours of application: after a few days the adhesive has settled and the bubble becomes permanent.
STICKERS & DECOR

Spider-Man XXL Decorative Stickers
The large format that stands as the main decoration: put it up with two people, on a completely clear stretch of wall.
26.90 €
Discover →Removing without leaving a trace
Removal is the stage where everything is decided, and where rushing costs you. The main rule fits in one sentence: pull flat, along the wall, never straight out from it. A sticker ripped straight towards you puts all its force on a single point and takes the paint with it; the same sticker peeled flat spreads the load and comes away cleanly.
Start at a corner, with a fingernail or a thin card. Work slowly, keeping the angle very tight. If you meet resistance, stop: a hairdryer on a medium setting, held twenty centimetres or so away, softens the adhesive in a few seconds and makes the rest of the job far easier.
For the glue residue that sometimes stays behind, a soft cloth and a little soapy water do the job in most cases. Avoid harsh solvents, which attack the paint far more surely than the adhesive itself.
Where to put them, and where not to
Some spots always work, others always disappoint. The wall behind the headboard pays off the most: it's seen from the doorway, it's never cluttered, and it anchors the whole room. The bedroom door comes next, particularly for small formats, because it belongs to the child and it takes compositions well.
To avoid: walls behind a radiator, where the heat lifts the edges within months; areas in direct sunlight, which fade bright colours; and bathroom walls, where damp makes the adhesive give way. A wall composition that is well placed lasts for years; badly placed, it curls up within a season.
Combining without overloading
The most common mistake is piling everything onto the same wall. A large format speaks for itself; you pair it with discreet elements spread elsewhere in the room. The balance comes from keeping one strong wall and letting the other three breathe, exactly as with choosing a poster or hanging a printed canvas.
The rest of the room then takes over without competing for attention: a mood light for the evening, matching curtains, a duvet cover that picks up the palette. Our guide to putting together a complete bedroom gives the order in which to add each element, and the one on lighting explains why light should come last.
Adapting the composition to your child's age
A wall that delights a four-year-old irritates a nine-year-old. The theme stays the same, the way you handle it changes completely, and that's the main lever for making a scheme last several years rather than one season.
Under six: the whole character, and big
At that age, instant recognition wins. A full silhouette, bold colours, an image that reads from the doorway. Scattered compositions and fine detail go over their heads: the child wants to see their hero, not decipher a scene. It's also the period when the height chart finds its best use, since it starts earning its place as soon as the child can stand up straight against a wall.
Which version you choose matters less than you'd think before six, as the child has usually only seen one programme. Our pointer on the series aimed at younger children sets out which look speaks to them first, and the fancy dress guide by age follows exactly the same progression.
From eight onwards: fewer elements, more intent
The switch happens when a child starts finding what they used to love 'babyish'. The answer isn't to drop the theme but to treat it differently: a graphic logo rather than a smiling character, a backlit silhouette, a restrained composition on a single wall. The register then moves closer to a teenager's bedroom, and it lasts a great deal longer.
At this stage, the wider universe becomes an argument in itself: the versions from the multiverse, the more grown-up look of the recent films, visuals drawn from the comic panels. The page devoted to the multiverse gives an overview of the variety available, and makes it possible to choose a version that genuinely matches current tastes rather than a reflex purchase.
How long it lasts, and how to look after it
Correctly applied to a compatible surface, a wall sticker lasts for years with no intervention. What degrades it is almost never time, but three identifiable factors: heat, direct light and damp. An ordinary interior wall, out of the sun and away from a heat source, poses no problem at all.
Care comes down to the occasional dusting with a dry or slightly damp cloth, without rubbing the edges. It's the corners that give way first; working a cloth over them speeds the process up. If an edge starts to lift, a dab of repositionable glue on the back settles the matter before the whole element comes away.
A word on living alongside the floor: elements placed low down, at child height, take knocks from toys and passes from the vacuum cleaner. Better to keep those spots for the sturdiest formats, or to move them up a few dozen centimetres. A matching rug covers the lower zone without sticking anything to it.
A serious alternative to painting
Repainting a child's bedroom around a theme raises one simple problem: the child moves on to another universe long before the paint wears out. At six they want their hero everywhere, at ten they find it childish, and the wall stays as it is. Stickers solve exactly that difficulty. They produce a comparable effect for a fraction of the cost and they come off when the enthusiasm passes.
That's also what makes them a cleverer gift than they look. They take up no space, they don't duplicate the toys or figures already there, and they transform the room in a way that shows immediately. Our gift ideas by age group place them against the other options, and the full range of decorative pieces alongside the gift selection completes the picture. The guides and advice page brings all these buying pointers together.
For a birthday, stickers combine very well with temporary decorations: you dress the wall the night before, add the party pieces, then take the lot down or keep the wall depending on the effect. The colouring pages to print round out the day at no cost, and the character quiz keeps guests busy between activities.
STICKERS & DECOR

Spider-Man Homecoming Wall Sticker
A film visual you recognise at a glance: the mid-size format that dresses a wall without taking over the whole room.
29.90 €
Discover →The one thing to do before you order
One last habit avoids most disappointments: measure the wall and mark the dimensions out on the floor with masking tape. You can see straight away whether the format you have in mind fits, whether it hits a socket, whether it disappears behind a shelf. It takes five minutes and it settles the one thing no product photo lets you judge properly. It's also a chance to involve your child in choosing the spot, which makes a big difference to how attached they are to the result.
In short
Look at the wall before you look at the sticker. A satin surface takes anything; matt paint, wallpaper or a freshly repainted wall call for caution, and a test in a discreet corner settles the question for a few euros. When applying, work centimetre by centimetre and smooth from the centre out to the edges; when removing, pull flat along the wall, never towards you.
Every model, from the smallest element to the full wall mural, is gathered in the sticker collection. And to place this format among everything the shop offers, the merchandise guide page reviews the catalogue, from the most affordable to the most sought-after.

