

14-Day Money-Back Guarantee
0
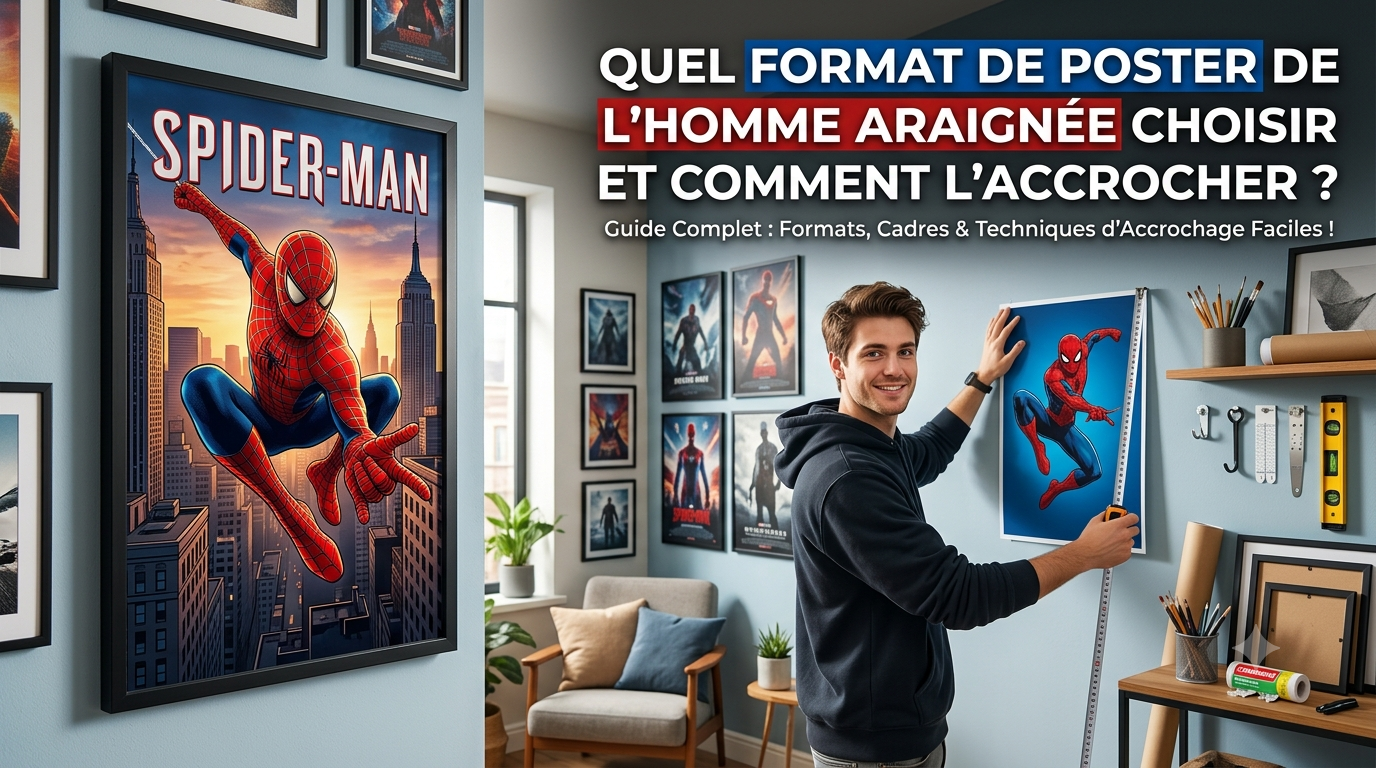
The essentials before you choose
Three rules are enough. The format follows from the wall, not from taste: count on roughly two thirds of the width of the furniture below it. The height is measured at the centre of the poster, 150 cm from the floor for an adult, and considerably lower in a child’s bedroom. And thefixing method depends on the surface, not on the weight printed on the adhesive’s packaging.
Contents
You’ve chosen the image. What’s left is the part nobody explains: which size to go for, how high to put it, and how to fix it without tearing off the paint the day you take it down.
This guide covers the execution, not the selection. If you’re still choosing the image, our guides by style and by character cover that stage.
Choosing the format: the rule of the wall, not of taste
It’s the most common and the most costly mistake: you pick a size on screen, it arrives, and it looks tiny on the wall. Format isn’t decided in the abstract — it follows from what surrounds it.
Common sizes and how much space they really take
A3, around 30 by 42 centimetres, stays discreet: it works above a desk, in a hallway, or grouped with others. On its own on a large wall, it disappears.
A2, roughly 42 by 60 centimetres, is the all-rounder. It holds its own above a child’s bed or a chest of drawers without overwhelming the room.
50 by 70 and 61 by 91 are the cinema poster sizes. They are the ones that create a focal point in a bedroom, and also the ones that forgive a placement error the least: off-centre, they throw the whole room out of balance.
The two-thirds rule
One simple, reliable principle: a poster hung above a piece of furniture should span between half and two thirds of its width. Above a one-metre chest of drawers, aim for something 50 to 70 centimetres wide.
Below half, the arrangement looks accidental. Beyond two thirds, the poster dominates the furniture and the balance breaks. The rule applies to a bed too: measure the width of the bed and apply the same proportion.
Portrait or landscape?
A vertical format visually lengthens a wall and suits narrow spaces or low ceilings. A horizontal one widens and works better above a bed or a sofa, where it follows the line of the furniture.
When in doubt on an open wall, vertical is the safer bet: it tolerates being slightly off-centre, whereas a badly placed horizontal is noticed straight away.

Retro Spider-Man Poster
A retro image that works just as well on its own as in a group, in a size that slots easily above a desk. The whole selection is in our Spider-Man posters.
View the product — €16.90How high to hang it
This is the setting that separates a carefully decorated room from a poster stuck up at random, and it is solved with a tape measure.
The 150-centimetre rule
The convention comes from museums: the centre of the image sits around 150 centimetres from the floor, which matches the eye level of a standing adult. It isn’t the top of the poster you measure, it’s the middle.
In practice, for a poster 60 centimetres tall, the top edge ends up 180 centimetres from the floor. Most people hang too high, out of reflex.
Above furniture or a bed
The rule changes when the poster sits above something. Leave 15 to 25 centimetres between the top of the furniture and the bottom of the frame. Any less and the arrangement looks cramped; any more and the poster floats and loses its link with the furniture.
Above a bed, go slightly higher so the pillow doesn’t knock against the frame, and to rule out any risk of banging your head.
In a child’s bedroom, go lower
This is the point most guides forget. A six-year-old’s eye level is around 110 centimetres from the floor. Hanging at adult height means decorating for the parents.
Aim instead for a centre between 110 and 130 centimetres depending on age. The child sees the poster, looks at it from the bed or the play mat, and the object starts to make sense. We apply the same logic to the whole room in our guide to creating a complete Spider-Man bedroom.
| Situation | Guideline |
|---|---|
| Open wall, adult | Centre of the image 150 centimetres from the floor |
| Above furniture | 15 to 25 centimetres between furniture and frame |
| Child’s bedroom | Centre between 110 and 130 centimetres |
Hanging it without damaging the wall
The question that stops people most often, especially in rented flats. There are good solutions, and a few false ones.
Drill-free solutions
Removable double-sided adhesive strips are the current benchmark: they hold respectable weights and come off by stretching the tab, without pulling the paint away. Their one condition is a perfectly clean, dry and smooth surface.
Adhesive putty suits light unframed posters, but it leaves greasy marks on matt paint and yellows over time. Keep it for temporary displays.
Adhesive hooks, finally, carry heavier frames than strips alone, provided you scrupulously respect the curing time before hanging anything — usually one hour. It is the most ignored instruction, and the leading cause of a poster ending up on the floor.
When drilling is still necessary
Beyond two or three kilos, or with a glass frame, drilling remains the only genuinely safe option. In a child’s bedroom it is a question of safety rather than convenience.
On a hollow partition wall, a plain screw won’t hold: you need a plug suited to the type of plasterboard. On concrete or brick, a standard wall plug is enough with the right drill bit.
What doesn’t hold, despite the promises
Ordinary adhesives on matt paint or textured wallpaper: the surface tears away before the adhesive does. Drawing pins on a poster you care about: they pierce it permanently. And any adhesive applied to a dusty or freshly painted wall — paint needs several weeks to harden fully.

Spider-Man Canvas Poster
A print on canvas, stiffer than a paper poster and therefore easier to fix without a frame. Our posters round out the range of paper formats.
View the product — €16.90Frame it, or leave it bare?
The three options don’t cost the same and don’t send the same signal.
The bare poster
Cheap, light, easy to swap. It is the sensible choice when the decoration has to evolve with a child’s tastes, or to test a spot before committing.
Its weakness is durability: the corners curl, the paper yellows faster without protection, and the slightest knock leaves a permanent mark.
The frame
It protects, gives structure and instantly promotes the poster from print to decorative object. A slim dark frame suits almost any image; thick or coloured frames compete with it.
If the poster is destined for a child’s bedroom, choose a frame with acrylic glazing rather than glass. It weighs less, it doesn’t break, and it changes everything where safety is concerned.
The stretched canvas
It removes the frame question altogether and gives a result closer to a painting. It hangs easily, it doesn’t reflect light, and it copes with damp better than paper. We cover this format in detail in our guide to wall art in canvases and prints.
The bare poster
Cheap and easy to swap, but the corners curl and the paper yellows.
The frame
Protects and elevates; in a child’s bedroom, choose acrylic glazing.
The stretched canvas
A painting-like result, no reflections, better with damp.
Composing a wall of several posters
Going from one poster to several changes the rules completely, and that is where most arrangements fail.
The aligned arrangement
Two or three identical sizes, lined up horizontally or vertically, with constant spacing. It is the safest and quickest solution: it asks for no particular artistic sense and works in almost any room.
The reference spacing is 5 to 8 centimetres. Any tighter and the set reads as one confused image; beyond 10, the pieces drift apart and no longer form a group.
The free-form arrangement
Mixed sizes, asymmetric layout. Far livelier, but it needs an invisible rule if it isn’t to turn into a mess: align either the top edges or a shared centre line, and let the rest organise itself around that.
The trick that saves you: cut templates out of newspaper at the exact size of each poster, tape them to the wall with masking tape, and live with them for two days before drilling anything.
Mixing the worlds
A wall given over entirely to the same character saturates quickly. Alternating registers — a film poster, a graphic image, a more abstract illustration — gives the wall room to breathe without breaking its coherence. Our simple, affordable decorating ideas suggest several combinations of this kind, and our guide to choosing the image helps you pick images that answer one another.

Watercolour Spider-Man Poster
A watercolour treatment that pairs well with more graphic images in a wall arrangement. Combine it with our lamps and our gift ideas.
View the product — €16.90Making it last
A well-hung poster can last for years, or degrade in a single season. Three factors decide.
Direct light. It is enemy number one. A poster facing a south-facing window loses its reds within a few months — and with this character, the reds are most of the image. Move it to another wall if you can.
Damp. The bathroom is out, obviously, but so are poorly insulated external walls where condensation makes the paper ripple. A canvas or a glazed frame holds up far better in those conditions.
Forgotten adhesives. A strip left in place for three years becomes very hard to remove cleanly. If the poster is meant to stay for a long time, go straight to a mechanical fixing.
What damages a poster
- Direct light Facing a south-facing window, the reds vanish within a few months.
- Damp Condensation on poorly insulated walls makes the paper ripple.
- Forgotten adhesives Left for three years, they become very hard to remove.
Matching the poster to the room
The same image isn’t hung the same way everywhere. Four situations come up again and again, and each has its own constraints.
The child’s bedroom
Low height, generous size, glass-free fixing. This is the room where the poster is looked at and handled most: a child touches it, peels back a corner, tugs at it. A sealed acrylic frame settles the matter.
Avoid the wall behind the headboard if the child is young: anything hung above a bed ends up worrying parents, often with reason. The wall facing the bed works better, and the child sees it while falling asleep.
The desk or homework corner
Modest size, seated eye level — around 110 to 120 centimetres from the floor, well below the standing rule. An A3 or an A2 is plenty, and a pair of small formats often works better than one large one.
Watch out for reflections: a glazed frame facing a window or sitting under a ceiling light becomes unreadable at exactly the hours the child is working.
The hallway and circulation spaces
These are the most underused spots. A hallway takes a row of small formats very well, seen close up and on the move. A large format, by contrast, is seen from too close there to be appreciated.
The living room or shared space
Here the poster is competing with adult decoration. A canvas or a slim dark frame passes far better than a bare print, and a graphic or retro image fits in where a film poster would read as a teenager’s bedroom. That is exactly the reasoning we develop in our guide by style.
How many posters for one room?
A simple question with a counter-intuitive answer: fewer than you think.
In a standard bedroom, one wall carrying images is enough. The other three stay bare or take functional pieces — a shelf, a wall light, hooks. Spreading posters across all four walls cancels out the effect of each one and tires the eye.
On that single wall, count on one large format alone, or three to five small ones in a group. Odd numbers work better than even ones for free-form arrangements, even numbers better for symmetrical rows.
Finally, keep a margin around the arrangement: at least 20 centimetres between the outer edge and the corner of the wall or the ceiling. A poster stuck too close to a corner always looks badly placed, even when it is perfectly straight. The rest of the atmosphere comes from the duvet covers and the soft toys that dress the room. To go further on this subject, see also Spider-Man stickers: which type to choose to decorate without damaging.
One wall only
One wall carrying images is enough in a standard bedroom.
The right number
One large format alone, or three to five small ones in a group.
The margin
At least 20 centimetres between the arrangement and the corner or the ceiling.
The mistakes that keep coming up
Hanging too high. The universal reflex. Measure, don’t judge by eye.
Choosing the size on screen. An image that fills your screen doesn’t fill a wall. Always mark the real dimensions on the wall with paper before buying.
Skipping the adhesive curing time. An hour’s wait saves you a frame on the floor and a chipped wall.
Decorating at adult height in a child’s bedroom. The poster is for the child, so it belongs at their height.
Overloading a wall. One well-placed poster does more than six put up at random. The empty space around the image is part of the composition.
Common mistakes
- Hanging too high Measure, don’t judge by eye.
- Choosing on screen Mark the real dimensions on the wall with paper.
- Rushing the adhesives An hour’s wait saves you a frame on the floor.
- Adult height In a child’s bedroom, the poster belongs at the child’s height.
- Overloading a wall The empty space around the image is part of the composition.
The kit worth having, and the kit you can skip
Putting up a poster properly takes almost nothing, but the three right tools genuinely change the result.
A tape measure and a pencil. Mark the wall lightly, then rub the mark out. Estimating by eye always produces a drift of several centimetres, visible the moment you step back.
A spirit level, or a phone’s level app, which does the job perfectly well. A poster half a degree out is noticed, especially next to a door or a skirting board that gives a horizontal reference.
Masking tape for the paper templates. It is the step everyone skips, and the one that prevents the costliest mistakes, above all before drilling for a multi-piece arrangement.
A plumb line, a set square and a separately sold hanging kit, on the other hand, are superfluous for home use. The fittings supplied with a decent frame are enough in almost every case.
Tape measure and pencil
Mark the wall, then rub the mark out.
Spirit level
Or a phone app: half a degree is noticed.
Masking tape
For the paper templates, above all before drilling.
Superfluous
Plumb line, set square and separately sold hanging kit.
And what if the poster arrives rolled up?
Most posters travel in a tube, so they arrive curled. Putting them up as they are guarantees edges that lift after a few days.
The method that works: unroll the poster flat, printed side down, and leave it under an evenly spread weight — a few books on a clean sheet of paper — for twenty-four to forty-eight hours. The paper flattens out without marking.
Don’t try to speed things up with an iron, even through a cloth: the heat blisters the inks and the result is irreversible. And don’t counter-roll it the other way, a common move that breaks the paper fibres and leaves permanent creases.
If you are framing it, the frame does the work for you: slide the poster in while it is still slightly curled and it will flatten under the glazing within a few hours.
1
Unroll it flat Printed side down, under a few books resting on a clean sheet of paper.
2
Wait Twenty-four to forty-eight hours.
3
No iron, no counter-rolling Heat blisters the inks; counter-rolling breaks the fibres.
What to remember
The format follows from the furniture below it, between half and two thirds of its width. The height is measured at the centre of the image, 150 centimetres for an adult and considerably lower for a child. And the fixing is chosen according to the surface and the real weight, not the manufacturer’s promise.
These three adjustments take ten minutes and a tape measure. That is what separates a poster that decorates a room from a poster simply stuck on a wall. For kitting out the rest of the bedroom, our guides to the rug, the duvet cover and the lamp complete the set.
1
The format Between half and two thirds of the width of the furniture.
2
The height Centre at 150 centimetres for an adult, lower for a child.
3
The fixing According to the surface and the real weight.

